This article will guide you on how you can use the Devika AI and install it on your local PC.
Prerequisite to install Devika AI:
Ensure you have Git, Python and Ollama installed on your system.
Devika AI Installation Steps:
Installing Devika AI involves a series of precise steps that ensure smooth functionality and optimal performance.
Let’s dive into each step, elaborating on the processes and providing additional insights:
Step 1: Backend Development
1.1 Clone the Repository:
Access the Devika AI repository on GitHub (github.com/stitionai/devika) and initiate the cloning process using the command:
git clone https://github.com/stitionai/devika.gitCloning fetches the latest version of Devika AI’s backend code to your local system, enabling seamless development and customization.
1.2 Navigate to the Devika Folder:
Transition into the cloned Devika directory:
cd devikaThis step ensures that your terminal operates within the appropriate project context, facilitating efficient execution of commands.
1.3 Create a Virtual Environment:
Use the power of virtual environments to maintain project-specific dependencies and configurations. With conda, establish a dedicated virtual environment named devika1, customize to accommodate Devika AI’s requirements:
conda create -n devika1 python=3.11 -yVirtual environments isolate project dependencies, preventing conflicts and ensuring consistent execution across different environments.
1.4 Install Requirements:
Fulfill Devika AI’s prerequisite dependencies by installing packages outlined in requirements.txt:
pip install -r requirements.txtSatisfying dependencies guarantees that Devika AI operates seamlessly, leveraging essential libraries and frameworks to deliver its functionalities.
1.5 Install Playwright:
Integrate Playwright, a powerful tool for browser automation, along with its dependencies:
playwright install --with-depsPlaywright empowers Devika AI with robust web automation capabilities, facilitating tasks like web scraping and interaction with web applications.
1.6 Configure API Keys:
Personalize Devika AI’s functionality by configuring API keys within the designated configuration file (config.toml). Input your API keys for services such as Bing and Claude to unlock enhanced features and services.
1.7 Start Devika Server:
Commence the Devika server to initiate backend operations and enable seamless interaction with the AI system:
python devika.pyStarting the server establishes the foundation for Devika AI’s functionality, enabling communication with frontend components and external services.
Step 2: Frontend Development
2.1 Install Bun:
To use Bun, a robust frontend development tool, by following the installation instructions available on bun.sh/docs/installation. For Windows PowerShell users, execute the following command:
powershell -c "irm bun.sh/install.ps1|iex"Bun simplifies frontend development, providing essential tools and utilities to streamline the creation of intuitive user interfaces.
2.2 Check Installation:
Verify the successful installation of Bun by executing the command “bun” within PowerShell. This confirmation ensures that Bun is correctly configured and ready for utilization in frontend development tasks.
2.3 Install UI Dependencies:
Equip your UI development environment with essential dependencies required for seamless interface creation:
bun installInstalling UI dependencies guarantees access to crucial libraries and resources, empowering developers to craft visually appealing and feature-rich user interfaces.
2.4 Run UI Development Server:
Kickstart the UI development server to preview and iterate upon frontend components effectively:
bun run devRunning the UI development server facilitates real-time feedback and enables rapid prototyping, fostering an iterative development approach towards building intuitive and user-friendly interfaces.
How to use Devika AI?
To start using Devika, follow these steps:
Open the Devika AI web interface your browser at http://127.0.0.1:3000.
To create a project, click on ‘select project‘ and then click on ‘new project‘.
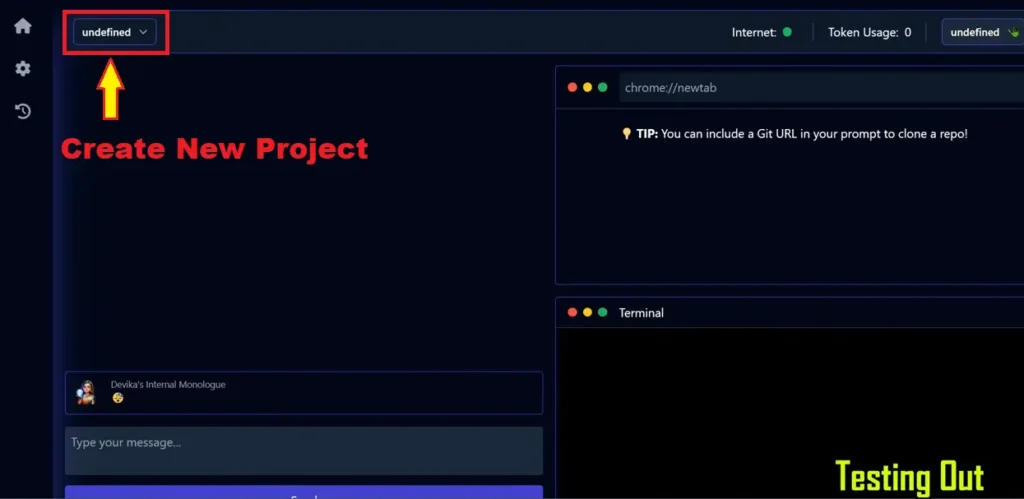
Select the search engine and model configuration for your project.
In the chat interface, write your prompt or task instructions in the provided text area.
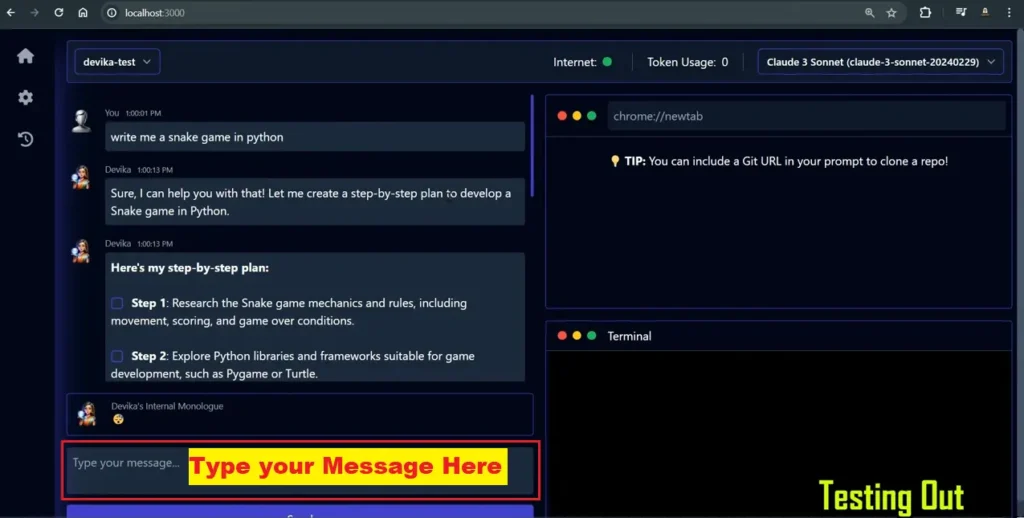
Devika will process your request, break it down into steps, and start working on the task.
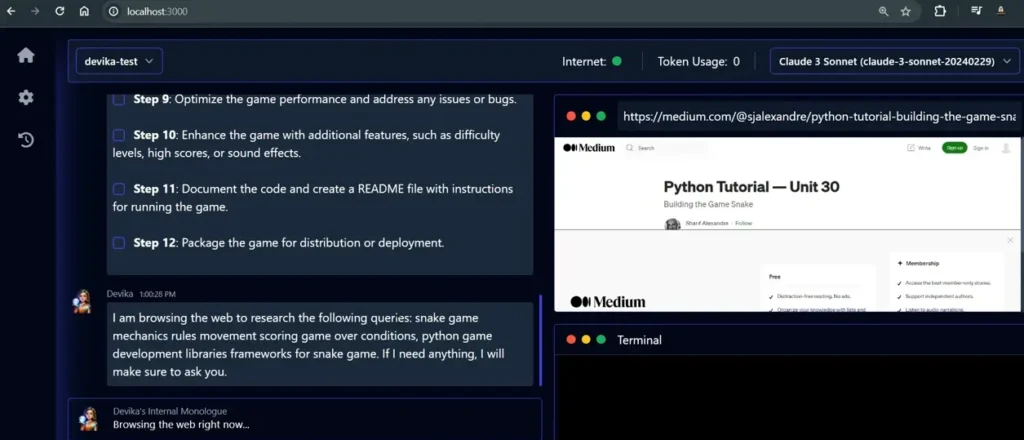
Monitor Devika’s progress, view generated code, and provide additional guidance or feedback as needed.
Once Devika completes the task, review the generated code and project files.
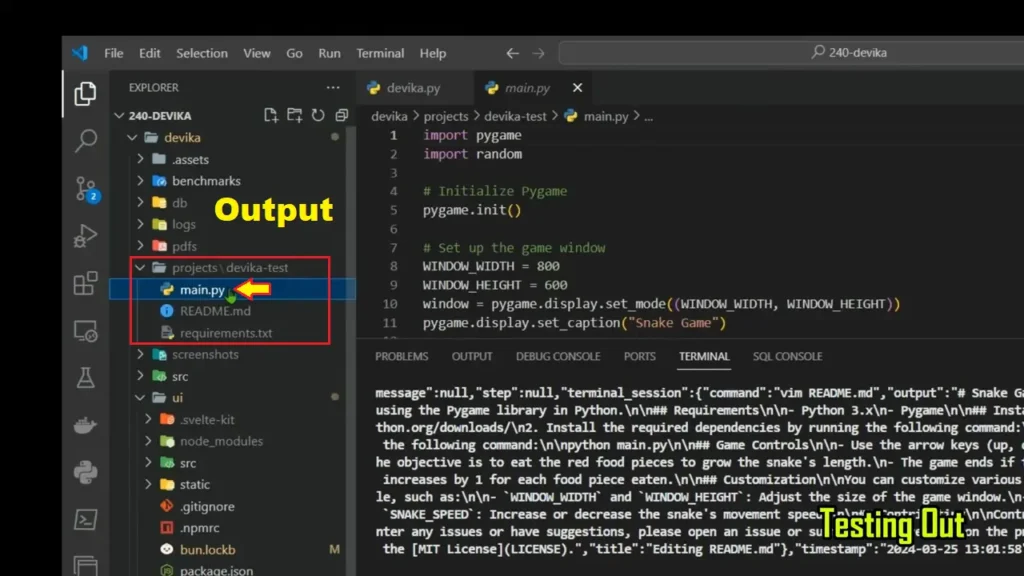
Iterate and refine the project as desired by providing further instructions or modifications.
Latest Devika AI Tutorials: